Quick Guide
- Ronograd City is a hostile urban map in BRM5, heavily occupied by PoD and RLF forces.
- Identify key hostile zones: multi-level apartments, the central playground kill zone, and mined roads.
- Plan entry routes carefully, prioritizing stealth or flanking maneuvers over direct assaults into open areas.
- Secure valuable loot from the Supply and Locked Rooms, which require keys found in dynamic locations.
- Equip essential gear like NVGs, ample ammo, and medical supplies, and utilize a 4x4 for transport and storage.
Navigating the sprawling, hostile urban landscape of Ronograd City in Blackhawk Rescue Mission 5 on Roblox can be one of the game's toughest challenges. This comprehensive Blackhawk Rescue Mission 5 Ronograd City guide is designed to help you understand its intricate layout, identify critical threats, and plan your objective flow for successful raids and extractions. Whether you're aiming to clear out enemy strongholds, secure valuable intel, or just survive, knowing the city's secrets is your first step to victory.
Ronograd City: Overview and Strategic Layout
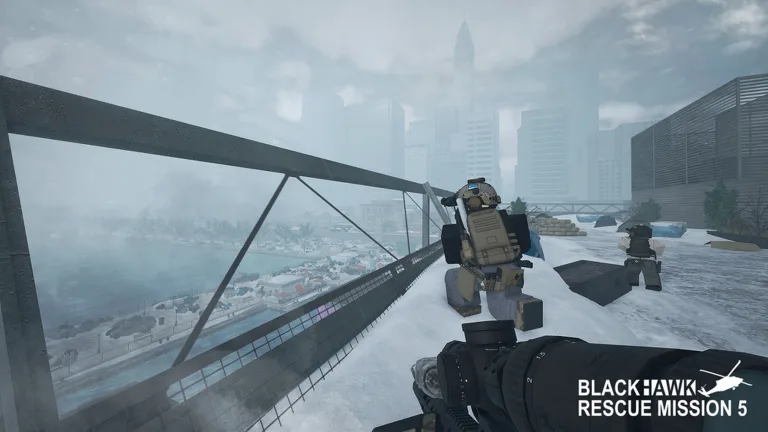
Ronograd City is a large, hostile urban environment located on the eastern side of Ronograd Island. It's a major hub of enemy activity, primarily occupied by PoD and RLF forces, making it a high-stakes zone for any operator. The city's infrastructure mainly consists of multi-level apartment complexes, a significant park area, a city hall, a bridge, and a medical center. While many buildings appear abandoned, pockets of resistance are pervasive, with the apartment complexes serving as primary strongholds.
Understanding the city's layout is crucial for planning your approach:
- Apartment Complexes: These multi-level structures are the heart of enemy resistance, found throughout the southern, northern, and central sections. They house High-Value Targets (HVTs), snipers, and heavy weapon emplacements.
- Garage Section: Located in the city's center, this area features 30 garages and serves as a player spawn point once Ronograd is captured. It's also where you can obtain equipment and spawn ground vehicles.
- Ronograd Park: Situated near the bridge, this area includes a playground, trees, benches, and a fighter jet statue. While seemingly innocuous, parts of the park can be dangerous kill zones.
Navigating Hostile Zones: Entry Routes and Major Threats
Ronograd City is designed to challenge players at every turn, with carefully placed enemy positions and environmental hazards. Successful operations hinge on careful reconnaissance and strategic entry.
Apartment Complexes: Strongholds and High-Value Targets
The various apartment complexes present the most significant threats and objectives:
- Southern Portion: This area is heavily fortified by PoD and RLF, featuring multiple bases of fire and mortar positions on rooftops. It contains four HVTs, each with a dedicated protection detail. This is also where you can steal an M1038 with equipment for your Headquarters (HQ). Approaching these buildings requires extreme caution, often favoring a stealthy entry or coordinated assault to neutralize rooftop threats first.
- Northern Section: Here, you'll find two accessible medium-rise apartments housing snipers, overwatch positions, and a formidable Kord machine gun emplacement. The Kord's heavy firepower makes direct frontal assaults with light vehicles extremely difficult. Additionally, the road just past the tunnel to the west of the city is mined. Player experience suggests going off-road immediately after exiting the tunnel to avoid these traps.
- Central Section: This area features four high-rise apartments, also occupied by HVTs. Some of these offer multiple access points, which can be exploited for flanking maneuvers or to avoid heavily defended main entrances. Be wary of two mortar emplacements on the northern buildings and a PKM emplacement on the northwest building.
- Southern Section (Single High-Rise): This building is occupied by a mortar and PKM emplacement. Community reports suggest prioritizing its capture to reduce enemy force multipliers and overall defenses.
The Playground Kill Zone
Just north of the city's center, the playground area is a notorious kill zone. Its lack of cover makes advancing players vulnerable to fire from multiple angles. It's highly advisable to choose alternative entry points or routes that provide more cover, rather than attempting to cross the playground directly.
Avoid the Ronograd City playground.
This area is intentionally designed as a kill zone with minimal cover, exposing players to fire from multiple hostile angles. Plan your routes to bypass it whenever possible.
Key Objectives and Valuable Loot
Beyond neutralizing enemy forces, Ronograd City offers lucrative opportunities for collecting resources and advancing your HQ.
The Supply Room and Locked Room
Two significant loot locations are the Supply Room and the Locked Room, both found on the second floor of apartment buildings in the south-eastern sector.
- Supply Room: Located on the second floor of the south-eastern apartment building, this room contains stashed supplies that can be sold at the Forward Operating Base (FOB) for money and resources.
- Locked Room: Found in the south-east HVT building, also on the second floor, this room has a unique texture and contains valuable loot such as Cash Bags (selling for 1,000 Credits each at the FOB), Equipment Cases (100 Credits and 2 Equipment), Metals Cases (100 Credits and 1 Precious Metals), and boxes with random items like ammunition and grenades.
Both rooms require a key to unlock. Player experience indicates these keys have dynamic spawn locations that change every time the day or night cycle switches. Common key spawn points include:
- On the long white table between the two eastern HVT buildings.
- On the same white folding table inside the VIP office of the north-western HVT building.
- Next to a radio under a tent in the center section, nearest the north-west HVT building.
- On a white table under camo netting on the south side of the center section.
Once unlocked, the Locked Room cannot be re-secured, so be prepared for potential follow-up engagements.
HQ Equipment and Resource Collection
As mentioned, an M1038 with equipment for your HQ can be stolen from the southern occupied apartments. This is a high-value objective that directly contributes to your long-term progression in Blackhawk Rescue Mission 5. Collecting resources from the Supply and Locked Rooms also feeds into this, providing crucial funds and materials for your operations.
Essential Gear and Tactical Preparation for Ronograd
Before deploying into Ronograd City, proper preparation is non-negotiable. The general tips for new players in Blackhawk Rescue Mission 5 are particularly relevant here.
- Secure Transportation: Your starting 1,500 credits should first go towards a 4x4 from the Vehicle Depot for 150 credits. This provides mobility and crucial storage space for supplies. You can always upgrade vehicles later, but a basic 4x4 is essential.
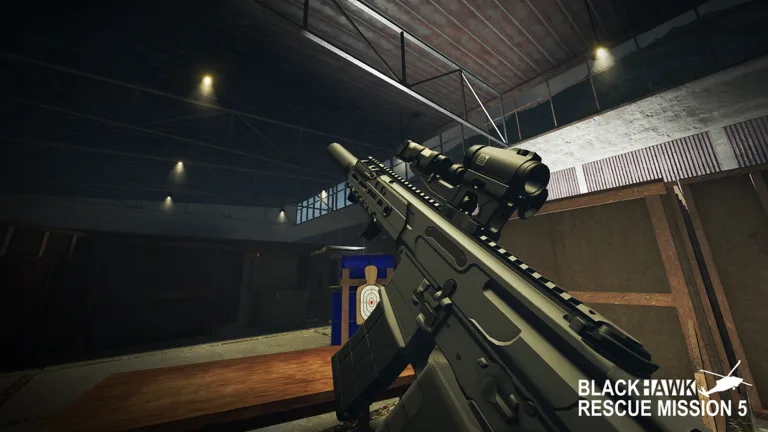
- Weapon Enhancements: Upgrade your starting M16A2. Attaching an optic significantly improves accuracy over iron sights. Consider adding a flashlight and grip to your handguard for better combat effectiveness, especially in dimly lit urban environments.
- Night Vision Goggles (NVGs): Ronograd's nights can be incredibly dark. Equip the free NVGs available in your loadout menu. These are vital for maintaining situational awareness and engaging targets during dark hours.
- Ammunition, Grenades, and Medical Supplies: Stock up generously. Purchase several magazines for your primary weapon, a few frag grenades, and plenty of medical supplies. Vitamins can wait until you have more cash, but basic medical kits are a must. Utilize your vehicle's trunk (shift + left-click or drag items) to store extra supplies, ensuring you can sustain yourself for extended engagements. You can also purchase unloaded ammo boxes to refill magazines as needed.
Always bring NVGs and ample medical supplies into Ronograd.
Night operations are common, and the city's intense combat means you'll take hits. NVGs are free and essential for visibility, while medical supplies are critical for survival.
Mastering Combat and Survival in Ronograd City
Once you've deployed, learning the game's mechanics in a live environment is key. Use your map (press M) to identify points of interest and plan your movements. Ronograd City offers diverse tactical approaches:
- Stealth vs. Direct Action: You can opt for a stealthy approach, using suppressors and careful movement to pick off enemies, or go in guns blazing. Both have their risks and rewards.
- Utilize Cover: The urban environment provides plenty of buildings and structures for cover. Always move from cover to cover and be aware of enemy sightlines, especially from snipers and machine gun emplacements in high-rise buildings.
- Stay Stocked: Regularly resupply your ammunition and medical items. The intensity of combat in Ronograd means you'll burn through resources quickly.
- Headquarters (HQ) Integration: Don't forget about your HQ. Engaging with the HQ menu can provide long-term rewards, increased money, and unique features that can indirectly aid your Ronograd operations. Even experienced players often overlook the full potential of the HQ.
By understanding Ronograd City's layout, identifying key threats, preparing adequately, and adapting your tactics, you can transform this hostile urban zone from a death trap into a rewarding operational area in Blackhawk Rescue Mission 5. Good luck, operator!
For more information on the game and its mechanics, check out the official Blackhawk Rescue Mission 5 page on Roblox: https://www.roblox.com/games/2916899287/blackhawk-rescue-mission-5
Frequently Asked Questions
What are the main threats in Ronograd City in Blackhawk Rescue Mission 5?
The main threats in Ronograd City include heavily armed PoD and RLF forces, snipers in high-rise apartments, Kord machine gun emplacements, mortar positions on rooftops, and mined roads. The central playground area is also a significant kill zone due to lack of cover.
How can I find the keys for the Supply Room and Locked Room in Ronograd City?
The keys for the Supply Room and Locked Room in Ronograd City have dynamic spawn locations that change with the day/night cycle. Common spots include white folding tables between eastern HVT buildings, inside the VIP office of the north-western HVT building, near a radio under a tent in the center, and under camo netting in the south.
Is it better to go stealth or engage directly in Ronograd City?
The best approach depends on your playstyle and loadout, but Ronograd City supports both. Stealth allows you to neutralize threats without drawing massive attention, while direct engagement requires heavy firepower and careful use of cover. Given the numerous high-threat positions, a hybrid approach, using stealth to clear key areas before engaging directly, is often effective.
What essential gear should I bring when raiding Ronograd City in Blackhawk Rescue Mission 5?
For Ronograd City, essential gear includes a 4x4 vehicle for transport and storage, an optic for your primary weapon, Night Vision Goggles (NVGs) for nighttime operations, plenty of ammunition (with extra mags or ammo boxes in your vehicle), and a generous supply of medical items to sustain yourself through engagements.